
Last updated November 15, 2026
 Wrought iron
 Wood & steel frame
 Farm & ranch
 Sliding driveway gates
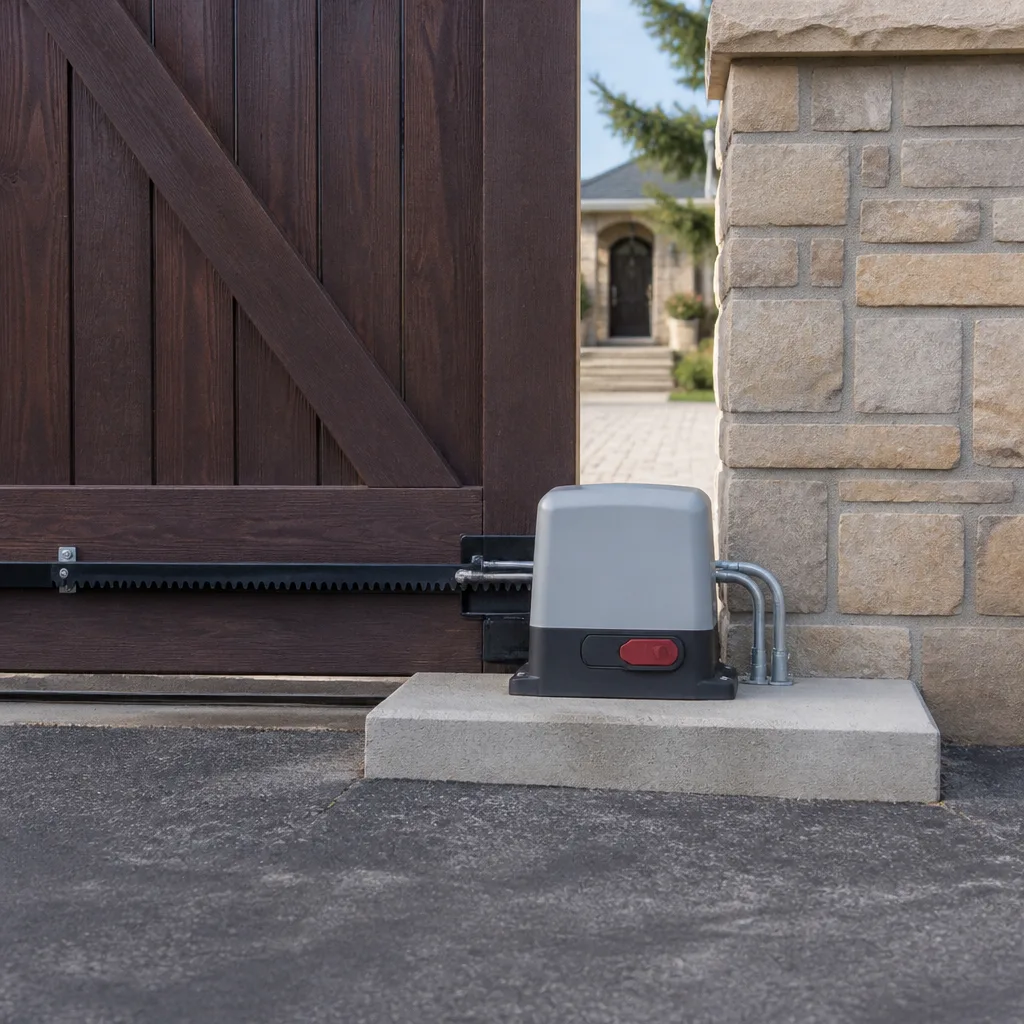 LiftMaster operators
Free on-site gate assessment - hinges, posts, and your LiftMaster or Nice gate operator checked before anything is quoted
The assessment is free and the quote is the invoice.
Get your free estimateDIY vs Professional Gate Repair: The Enterprise Homeowner’s Decision Guide
Replacing a gate remote battery is DIY. Adjusting limit switches on an operator under spring tension is not, and the distinction matters because a misadjusted limit switch on a swing gate produces enough force to injure a person or destroy a vehicle. The line between “you can do this” and “put the wrench down” isn’t about how handy you are. It’s about which components carry electrical, mechanical, or liability risk. This guide draws that line precisely, task by task, so you can decide with clear eyes what belongs in your hands and what belongs in ours. We’re Gate Repair Enterprise, and we’ve watched enough reversed DIY repairs to know exactly where the danger hides in Enterprise.
Quick Answer
Homeowners can safely handle lubrication, photo-eye cleaning, manual release operation, and remote programming. Everything else, including limit switch adjustment, spring tension work, control board replacement, underground wiring, and UL 325 safety device testing, needs a specialist. In Enterprise, DIY electrical work on a gate system also creates homeowner liability under Nevada rules. The safe test is simple: if the task involves the operator’s interior, live wiring, or anything under load, call a professional.
Styles & brands we work with
- Wrought iron
- Wood & steel frame
- Farm & ranch
- Sliding driveway gates
- LiftMaster operators
Table of Contents
- What Gate Repairs Are Actually Safe for Homeowners?
- What Gate Repairs Require a Specialist?
- Why Does DIY Gate Wiring Create Liability in Nevada?
- How Does DIY Repair Void Your Operator Warranty?
- What Does a Failed DIY Repair Actually Cost?
- What’s the Right Role for a Homeowner in a Gate Repair?
- How Do You Document a Gate Problem That Helps a Specialist?
- How Do You Safely Operate a Gate Manually?
What Gate Repairs Are Actually Safe for Homeowners?
Four categories of gate work are genuinely safe for homeowners: lubrication, photo-eye cleaning, remote programming, and manual release operation. Everything in this group involves no live wiring, no loaded components, and no adjustment to how the operator drives the gate. If your gate opens slowly, sticks, or the remote quits, check these four first. In our experience, a surprising number of “broken gate” calls in Enterprise turn out to be a dirty photo-eye or a dead remote battery.
Here’s the safe task list, with what each one actually involves:
- Lubrication. Hinges, rollers, and the track on a slide gate need a light application of lubricant designed for metal-to-metal contact. Wipe off excess so dust doesn’t collect. Do not lubricate the operator’s drive gear or the internal mechanism.
- Photo-eye cleaning. The safety sensors mounted near the ground on each side of the gate opening collect dust fast in dry, windy conditions. A soft cloth and glass cleaner on the lens is enough. Straighten a knocked-over sensor bracket by hand.
- Remote programming. Adding or removing a remote from a LiftMaster or Elite receiver is a button sequence at the receiver itself. The manual for your operator walks through it. This does not require opening the operator housing.
- Manual release operation. Every automatic gate operator has a manual release, usually a key or lever that disengages the drive. Using it during a power outage or a stuck gate is normal operation, not repair.
These four tasks keep a gate running smoothly and cost nothing. Do them regularly and you’ll prevent a good share of the minor failures we get called out to fix. Where to stop is just as clear: if a safe task doesn’t restore function, the problem lives deeper inside the system, and that’s when you move to the next section. For a broader look at what routine gate upkeep covers, our gate repair page walks through the full service.
What Gate Repairs Require a Specialist?
Five categories of gate work require a trained technician: spring tension adjustment, limit switch adjustment, control board replacement, underground wiring repair, and UL 325 safety device testing. Each one involves either stored mechanical energy, live electrical current, or safety-critical calibration that a homeowner cannot verify. A gate that looks fine after a DIY attempt can still fail dangerously under load.
The reasons are specific, not general caution:
- Spring tension adjustment. A counterbalance spring on a swing gate stores enough energy to break bones if it releases unexpectedly. Adjusting tension requires knowing the correct setting for the gate’s weight and width, and the tools to hold the spring while you work. There is no safe homeowner version of this task.
- Limit switch adjustment. Limit switches tell the operator where to stop the gate. Set them too far and the gate drives into the post or stops short. Set them wrong on the open side and the gate swings past its stop with full motor force. On a swing gate, that force is what injures people and dents vehicles. A misadjusted limit switch is the single most common cause of a gate that “suddenly” swung into a car.
- Control board replacement. The control board is the operator’s brain. Replacing one means matching the board to the operator model, wiring the inputs correctly, and re-running the safety device calibration afterward. A board swapped without calibration can run the gate with safety devices disabled.
- Underground wiring repair. Gate operators connect to power, safety devices, and often an intercom or keypad through buried cable. A damaged run needs locating, digging, splicing in a rated enclosure, and re-testing the whole circuit. This is electrical work with code implications covered below.
- UL 325 safety device testing. Photo-eyes, safety edges, and the operator’s inherent force-limiting are all governed by UL 325. Testing them properly means triggering each device and confirming the gate reverses or stops within the required force and time. A photo-eye that lights up isn’t evidence it’s working.
FAAC and DoorKing systems in particular pack a lot of safety logic into the operator housing. Getting inside one of those without knowing the model’s calibration routine is how small problems become expensive ones. We service the full range of these systems, which is why we speak plainly about where the line sits.
Why Does DIY Gate Wiring Create Liability in Nevada?
Performing electrical work on a gate system without proper licensing creates homeowner liability in Nevada even if the repair works perfectly. The exposure is twofold: if someone is injured by the gate later, and if the property is sold or inspected and the unpermitted work is discovered. A gate that runs is not the same as a gate that is compliant.
Here’s how the liability actually works, in plain terms:
- Permit and inspection requirements. Most cities require a permit for new electrical circuits and often for operator installation. Wiring added without a permit can show up during a home sale inspection and require removal and rework. If you’re in Enterprise, ask the city’s building department what your specific installation needs before you dig.
- Injury exposure. If a guest, a delivery driver, or a family member is hurt by a gate that was wired or adjusted by the homeowner, the liability lands on the homeowner. A UL 325 safety device that was never properly tested is the first thing an investigator looks at.
- Insurance complications. A claim related to homeowner-performed electrical work on a gate can be contested by an insurer. Even a repair that “looks fine” carries risk if it wasn’t done to code.
- Low-voltage is not no-voltage. Gate operators run low-voltage control circuits, but they connect to line voltage at the transformer. The line side is the same 120-volt circuit as any other outlet in your home. Treating the whole system as safe because it’s “just low-voltage” is how people get hurt.
This isn’t a scare tactic. In our experience, homeowners who attempt gate wiring usually get the gate running, then discover the problem months later when a safety device fails or an inspector flags the circuit. The repair is more expensive by then. If an electric gate has stopped responding at all, electric gate repair starts with diagnosis at the source, not guesswork at the panel.
How Does DIY Repair Void Your Operator Warranty?
Opening the operator housing to perform your own repair typically voids the manufacturer warranty on the operator. Most warranties cover defects in materials and workmanship, not damage caused by unauthorized service. Once a technician opens the case and finds evidence of homeowner work, the coverage is usually gone, even for a defect that was there before the DIY attempt.
The specific brands make this concrete. LiftMaster operators sold through professional channels carry warranties that assume installation and service by a trained technician. Opening the housing to swap a board or adjust a limit switch yourself puts you outside that assumption. Elite and FAAC operators have similar terms. If a control board fails three months later, a warranty claim on a previously opened unit is difficult to pursue regardless of the brand.
There’s a second layer. Many modern operators, including several LiftMaster and DoorKing models, log events internally. The operator records every cycle, every safety device trigger, and every fault code. When a technician pulls the diagnostic history, they can see when a fault occurred, how many times the gate ran with a safety device tripped, and in some cases whether the housing was opened. The log is useful evidence for a warranty claim, and it’s equally useful for spotting homeowner tampering.
The practical point: if your operator is under warranty, doing your own internal repair trades a covered fix for an uncovered one. The covered fix is often the cheaper path. We work on the nine major brands, which means we can tell you up front whether your specific operator is likely still covered before you open anything.
What Does a Failed DIY Repair Actually Cost?
A failed DIY repair adds two costs to the eventual professional fix: the time spent reversing the amateur work, and the cost of any parts the attempt damaged. In practice, a specialist who has to undo homeowner work before making the correct repair spends roughly one to two extra hours on diagnosis and rework. On top of that, a control board shorted by a wrong wiring attempt is a real replacement cost that didn’t need to happen.
The pattern we see most often in Enterprise follows the same path:
- The initial symptom is misread. The gate won’t open. The homeowner assumes the operator is dead and starts testing wires. In reality, a safety device was tripped or a limit switch slipped. The operator was fine.
- The repair makes things worse. A wire is swapped at the terminal block. The operator now shows a fault code it didn’t show before. A board component is stressed by the miswired circuit.
- The specialist is called. Diagnosis now has to work around the new fault, not just the original one. The technician verifies what’s original and what’s been changed. That takes longer than a clean diagnosis.
- Parts are replaced that didn’t need replacing. A board that was working fine now has a damaged input. The replacement cost is added to the correct repair.
None of this is a knock on the homeowner. Gates are complex systems and the fault codes don’t always point cleanly at the cause. But the arithmetic is what it is: DIY attempts that fail usually cost more than going straight to a technician would have. The written estimate you get from us sets the price before any work starts, and that number doesn’t move afterward. If you want to know what a repair typically runs, the Enterprise page covers local pricing context and what jobs usually involve.
What’s the Right Role for a Homeowner in a Gate Repair?
The homeowner’s best role in a gate repair is observation and documentation, not repair. The more accurately you can describe what the gate was doing before it failed, the faster a technician can diagnose it. A short list of specific observations is worth more than a photo of the gate sitting still, and it costs you nothing to prepare.
Here’s what to capture before you call:
- What the gate was doing right before the failure. Was it opening, closing, stopped mid-travel, reversing unexpectedly? The moment of failure tells a technician more than the static state.
- Any sound or movement change. A grinding noise on one side, a gate that settles slowly, a click from the operator with no movement. These are diagnostic clues.
- Any fault code or blinking indicator. Many operators display a fault pattern with an LED. Note the number of blinks and where on the operator they appear. Don’t reset anything.
- The last thing that changed. A power outage, a storm, a new remote, a recent landscaping project near the gate line. New buried cable damage often follows a digging project.
- The operator brand and model if you can read it. A photo of the housing label is enough. Knowing it’s a LiftMaster or a Mighty Mule up front lets the technician arrive prepared.
What you should not do is open the housing, disconnect wires to “test” them, or attempt to bypass a safety device to get the gate moving. Those three actions account for the majority of the reversed repairs we’re asked to clean up. Clear observation is the homeowner’s strength. Leave the tools in the drawer.
How Do You Document a Gate Problem That Helps a Specialist?
Effective documentation is short and specific. A two-minute video of the gate failing, plus the fault code, plus the brand, gets a technician most of the way to a diagnosis before they arrive. Vague reports like “the gate won’t work” cost everyone time.
Record these four items, in this order:
- Video of the failure. Stand back so the whole gate is in frame. Trigger the gate with the remote or keypad and let it run through its cycle once. If it fails partway, let the video keep rolling. The full travel shows the technician where the fault occurs.
- Photo of the operator label. Get the brand, model, and any serial number in one clear shot. We work on the full range of gate operators, but knowing which one is in front of us changes what we bring.
- Fault code reading. If the operator has an LED that blinks, count the pattern. Don’t reset the operator or cycle power. The code is data and it disappears once cleared.
- Written notes on timing and conditions. When did it start? Does it fail on open, on close, or both? Does it fail more in heat or after a power flicker? In Enterprise, the summer heat pushes operators harder, and a gate that fails on hot afternoons points at a specific set of causes.
Those four pieces let a technician arrive prepared. Often they can quote a repair without a diagnostic visit beyond the free estimate. When a gate is fully stuck, that preparation may be the difference between a same-day fix and a second trip. If your gate has stopped working and you want help reading what it’s telling you, this is where to call.
How Do You Safely Operate a Gate Manually?
Every automatic gate has a manual release that disengages the operator so the gate can be moved by hand. Using it is a safe, normal operation, not a repair. Knowing where it is and how it works is worth ten minutes of your time before you need it in a power outage or a stuck-gate situation.
Here’s the safe manual release procedure:
- Locate the release. On most residential operators it’s a key-operated lever or a pull handle on the operator housing, or a bypass key for a slide gate. Check your operator manual if you can’t find it.
- Disengage the drive. Turn the key or pull the handle in the direction the housing label indicates. You should hear the gear disengage.
- Move the gate by hand. Push or pull slowly. A swing gate should move freely on its hinges. A slide gate should roll along its track. If it resists, stop – something is binding and forcing it will damage the gate or the operator.
- Re-engage when done. Turn the release back to its locked position before you try to run the operator again. Running the operator with the release disengaged can damage the drive.
Two cautions. First, manual release is for moving the gate, not for diagnosing the fault. Once you’ve released and re-engaged, if the gate still won’t run on its own, the problem is inside the operator or the wiring, and that’s specialist territory. Second, don’t use manual release as a permanent workaround for a broken operator. A gate left in manual mode is easy to swing, and on an incline it may drift on its own. If the operator has failed, the safe fix is a repair, not a permanently disengaged gate.
Common Mistakes to Avoid
- Bypassing the safety devices to “test” the gate. Disconnecting a photo-eye or safety edge to see if the gate moves faster is a common shortcut that defeats UL 325 protection. The gate will run, but it will also close on a person or vehicle without reversing. The repair cost is the same either way; the injury risk is not.
- Using the wrong lubricant. WD-40 on the operator’s drive mechanism or on a limit switch can attract dust and gum up the component. Stick to metal-to-metal lubricant on hinges and rollers, and leave the operator internals dry.
- Adjusting limit switches by trial and error. Every wrong setting on a swing gate drives the gate further than it should, and the operator’s motor has enough force to cause real damage at the limits. If you don’t know the correct setting, don’t guess.
- Ignoring the manual release position. Leaving the operator disengaged after a power outage is the most common reason a gate “stopped working” a day later. Re-engage the release before calling for a repair.
- Digging near the gate line without locating first. In Enterprise, landscaping and irrigation work around the fence line regularly nicks buried gate cable. A short section of cut wire can look like a dead operator and requires a proper splice to fix, not a twist-and-tape.
- Assuming a new battery in the remote fixes a non-responsive gate. Remote batteries go dead, but a gate that ignores a working remote usually has a receiver or operator fault. Check the manual release position before assuming electronics.
- Opening the operator housing to look around. Visual inspection of the housing interior is the first step in voiding a manufacturer warranty. If you’re curious what’s inside, ask a technician to show you after the repair instead.
See the difference
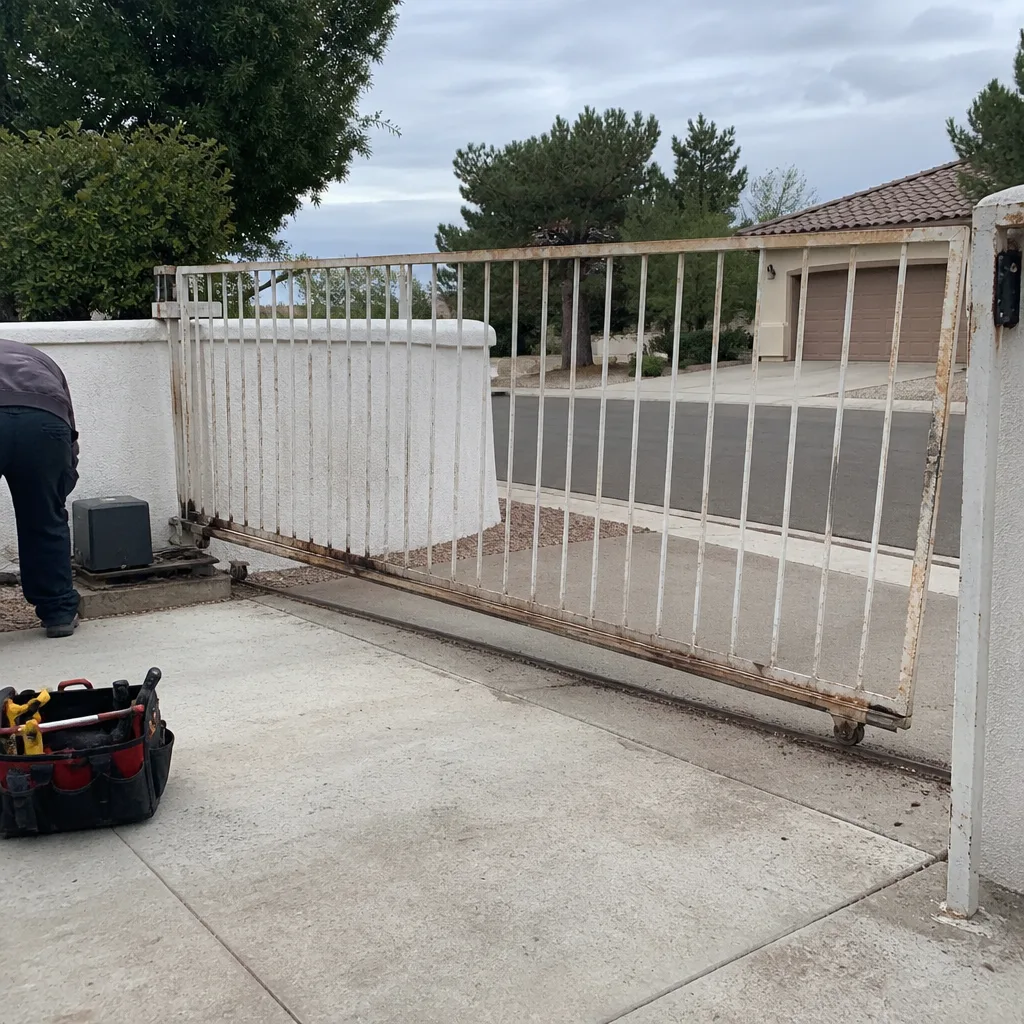 Before
 After
 Before
 After
 Before
 After
When to Call a Professional
Call a professional if any of these applies: your gate stopped mid-travel and won’t resume, a safety device trips and won’t reset, the gate runs on its own, you see sparks or smell burning at the operator, you find damage to buried cable, or the fault code won’t clear. Also call if you’ve already attempted a repair and the gate still doesn’t work; getting a technician in before more damage is done usually costs less than the next attempt. The safety edge, photo-eye, and force-limiting system on every UL 325 gate exist for a reason, and a gate that runs but doesn’t reverse on contact is not fixed.
Gate Repair Enterprise offers free estimates in Enterprise. Call (844) 423-3067. We answer 24/7, and fast dispatch from 7am to 7pm gets a technician out to look at your gate. Where your gate is under warranty, we’ll tell you before any work starts. The written estimate sets the price, and it’s the number you pay.
Frequently Asked Questions
No, replacing a control board on a gate operator is specialist work. The board must be matched to the operator model, wired to the correct inputs, and followed by a full safety device calibration. An incorrectly installed board can run the gate with the safety devices disabled, which is a serious injury risk. If you suspect a failed board, call for a diagnosis first.
Yes, in most cases. Manufacturer warranties on gate operators typically cover defects in materials and workmanship and assume trained installation and service. Once a technician opens the housing and finds evidence of homeowner work, the coverage is usually gone, even if the defect was there before. Check your warranty terms before you open anything.
No, testing and adjusting UL 325 safety devices is specialist work. A photo-eye that lights up may still be misaligned or wired to the wrong input, and the operator’s inherent force-limiting has to be tested separately. A gate that doesn’t reverse on contact is unsafe and should be repaired before it’s used. Call us for a same-day safety check.
Stop and call a technician. Attempting to revert a partially completed repair usually adds damage. Tell us what you did, which wires you touched, and which parts you removed, and bring the operator manual if you have it. In our experience, a specialist can usually reverse a partial DIY repair and complete the correct fix in one visit, but more attempts don’t help.
Ask the city’s building department. Most cities require a permit for new electrical circuits and often for operator installation, and unpermitted work can surface during a home inspection or sale. A licensed technician will know what your installation needs. If you’re unsure, the safe path is to have the wiring done to code from the start, which is what electric gate repair covers.
We work on nine major gate and operator brands: LiftMaster, FAAC, BFT, Linear, Viking, Ghost Controls, DoorKing, Elite, and Mighty Mule. That means a technician familiar with your specific operator arrives, instead of one guessing at its quirks. If you’re not sure which brand you have, the label on the housing is enough to tell us.
The Bottom Line
The DIY-versus-professional question isn’t about how skilled you are. It’s about which tasks carry electrical liability, stored mechanical energy, or safety-critical calibration. Lubrication, photo-eye cleaning, remote programming, and manual release are yours to handle. Limit switch adjustment, spring work, control board replacement, buried wiring, and UL 325 device testing belong to a specialist, and a failed attempt usually costs more than the repair would have. Document what your gate is doing, keep the tools in the drawer, and call when the problem goes deeper than a dirty lens. Gate Repair Enterprise services the full range of gate brands, and every estimate is free, with the price set before work starts.
Call (844) 423-3067 for a free estimate on your gate repair in Enterprise. We answer 24/7. Fast dispatch from 7am to 7pm, Sunday through Friday.
Written by the team at Gate Repair Enterprise.